Lenticular book folding turns the edge of an old book into a picture that changes as you walk past it. Look from the left and you see one image. Look from the right and a completely different image appears.
It is one of the most eye-catching forms of fore edge book art, and it is easier than it looks. In this guide you will learn what lenticular book folding is, what you need, how to fold your first book, and where to find free lenticular book folding patterns.

What is lenticular book folding?
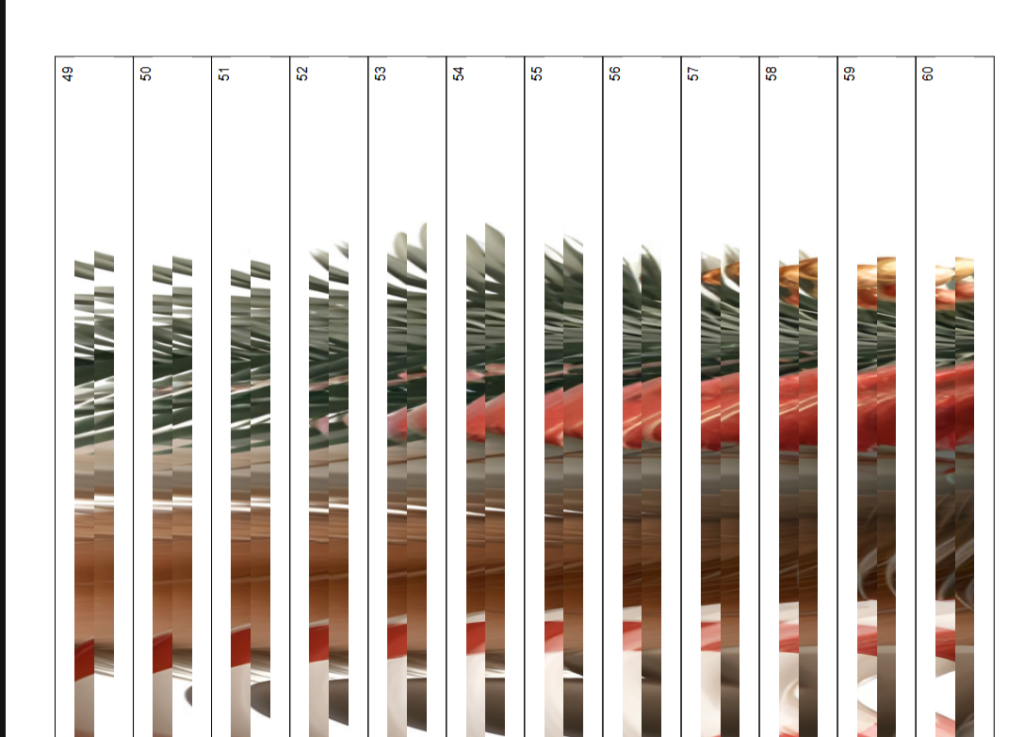
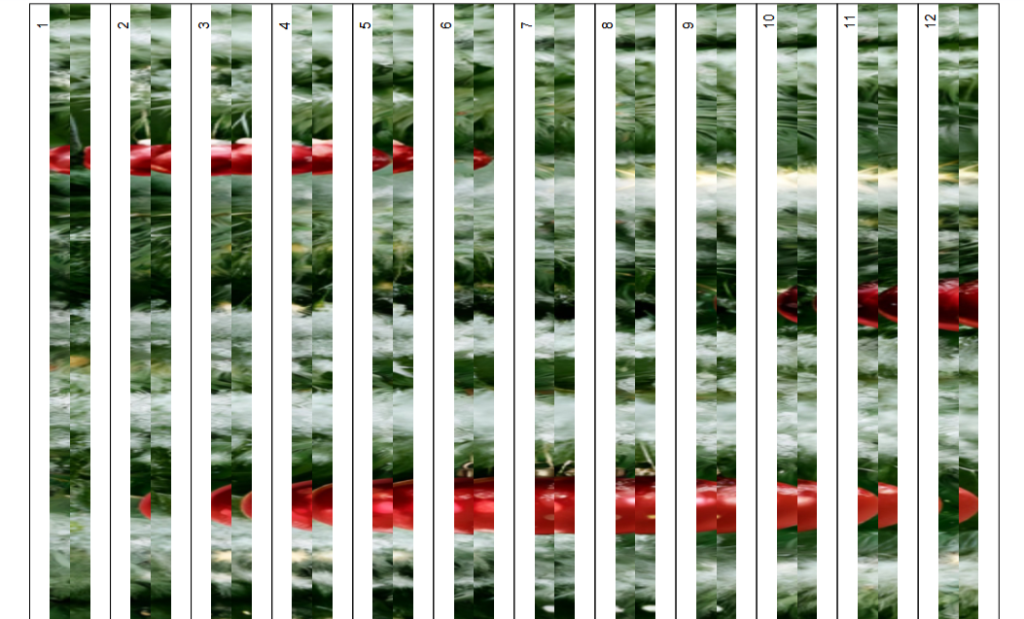
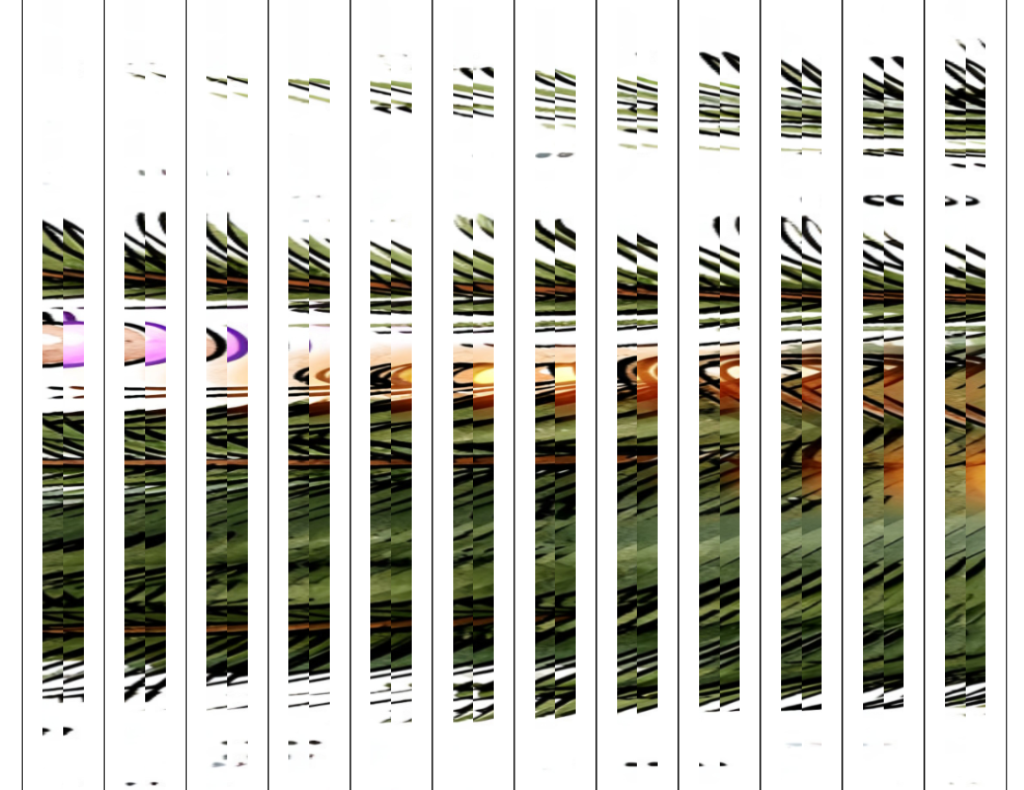
Lenticular book folding is a fore edge technique where two images share the same book. Thin printed photo strips are added to the edges of the pages, and each strip carries a slice of both pictures.
The name comes from lenticular printing, the effect used on flip postcards and 3D bookmarks. Those use a ridged plastic lens to show a different picture at each angle. A lenticular book does the same job with paper: the angle of each strip decides which image your eye picks up.
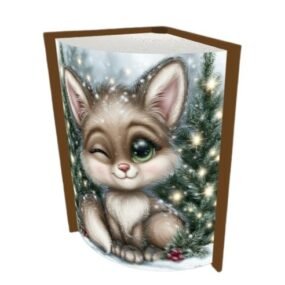
That is why lenticular book art works so well on a shelf. As people move around the room, the book seems to change from one picture to the other. Popular pairings include a day and night scene, a young and grown-up animal, or a character who winks.
Lenticular vs other book folding techniques
Lenticular book folding is the only technique here that shows two images in one book. The table shows how it compares.
| Technique | What you see | Tools | Images per book |
|---|---|---|---|
| Lenticular fore edge | Two images, one from each side | Printer, scissors, glue | 2 |
| Fore edge photo strips | One image across the page edges | Printer, scissors, glue | 1 |
| Measure, Mark & Fold (MMF) | Shape or word folded into the pages | Ruler, pencil | 1 |
| Cut & Fold | Sharper shape made by cutting and folding | Ruler, pencil, scissors | 1 |
If you have already tried fore edge photo strips, lenticular is the natural next step. If you are brand new, a few Measure, Mark & Fold patterns are a good warm-up.
What you need for lenticular book folding
You need very little to get started, and most of it is already in the house.
- A hardback book with enough pages for your pattern. Check the page count in the pattern PDF.
- A lenticular book folding pattern, printed at 100% scale.
- Good quality paper for the strips. A slightly heavier paper holds its shape better.
- Sharp scissors or a craft knife and a cutting mat.
- A glue stick or thin craft glue that will not wrinkle the paper.
- A ruler and bone folder for crisp, straight folds.
How to do lenticular book folding, step by step
Every pattern on Folded Book Art comes with full instructions in the PDF, so always follow those first. This is the general method.
- Print your pattern at 100% (actual size). Do not use “fit to page”, or the strips will not match your book.
- Number and cut the strips carefully along the guide lines. Keep them in order; a small tray or envelope helps.
- Fold each strip along its centre guide line with a ruler and bone folder. One half carries the left image, the other the right image.
- Find your starting page as shown in the pattern, so the design sits centrally in the book.
- Glue the strips to the page edges in number order, lining each one up with the page edge.
- Check from both sides every 10 to 20 pages. Look from the left, then the right, to make sure both images are building up.
- Let it dry with the book standing open, then fan the pages gently to reveal both pictures.
Prefer to watch first? See the lenticular video tutorial linked on our patterns page.
Tips for the best lenticular effect
The sharpest two-image effect comes from accuracy, not speed. These tips fix the most common problems.
- Images look blurred or mixed: strips are slightly out of line. Glue each one flush to the page edge.
- Strips curl or bubble: too much glue. Use a thin, even layer.
- Design is off-centre: the starting page was wrong. Count again before you glue.
- Picture looks squashed: the pattern was printed at the wrong scale. Reprint at 100%.
- One image is weaker: the folds are not crisp. Use a bone folder on every strip.
Start with an Easy pattern for your first lenticular book. Bold, simple images with strong colour contrast flip most clearly.

Free lenticular book folding patterns
Folded Book Art has a growing collection of free lenticular book folding patterns, each as a PDF with full instructions. Create a free account and download as many as you like.
The collection includes Easy, Intermediate and Advanced designs, from festive patterns like Santa Smiling and Hedgehog Christmas to the Magical Winking Fox and Glowing Beach.
Browse free lenticular fore edge patterns
Want to fold your own photos? SmartFold is our companion tool for creating custom book folding patterns, and it is free to try.
Lenticular book folding FAQ
Is lenticular book folding hard for beginners?
No. If you can cut neatly and glue in a straight line, you can do it. Start with an Easy pattern.
How many images can a lenticular book show?
Two: one when viewed from the left and one from the right.
How long does a lenticular book take to make?
Most people finish in one or two evenings. Larger, Advanced patterns take longer.
What book is best for lenticular book folding?
A hardback with plain, evenly cut pages and enough pages for your pattern works best.
Are the lenticular patterns free?
Yes. Every pattern on Folded Book Art is free to download with a free account.
Can I make a lenticular pattern from my own photos?
Yes. Use SmartFold to create your own custom book folding patterns.